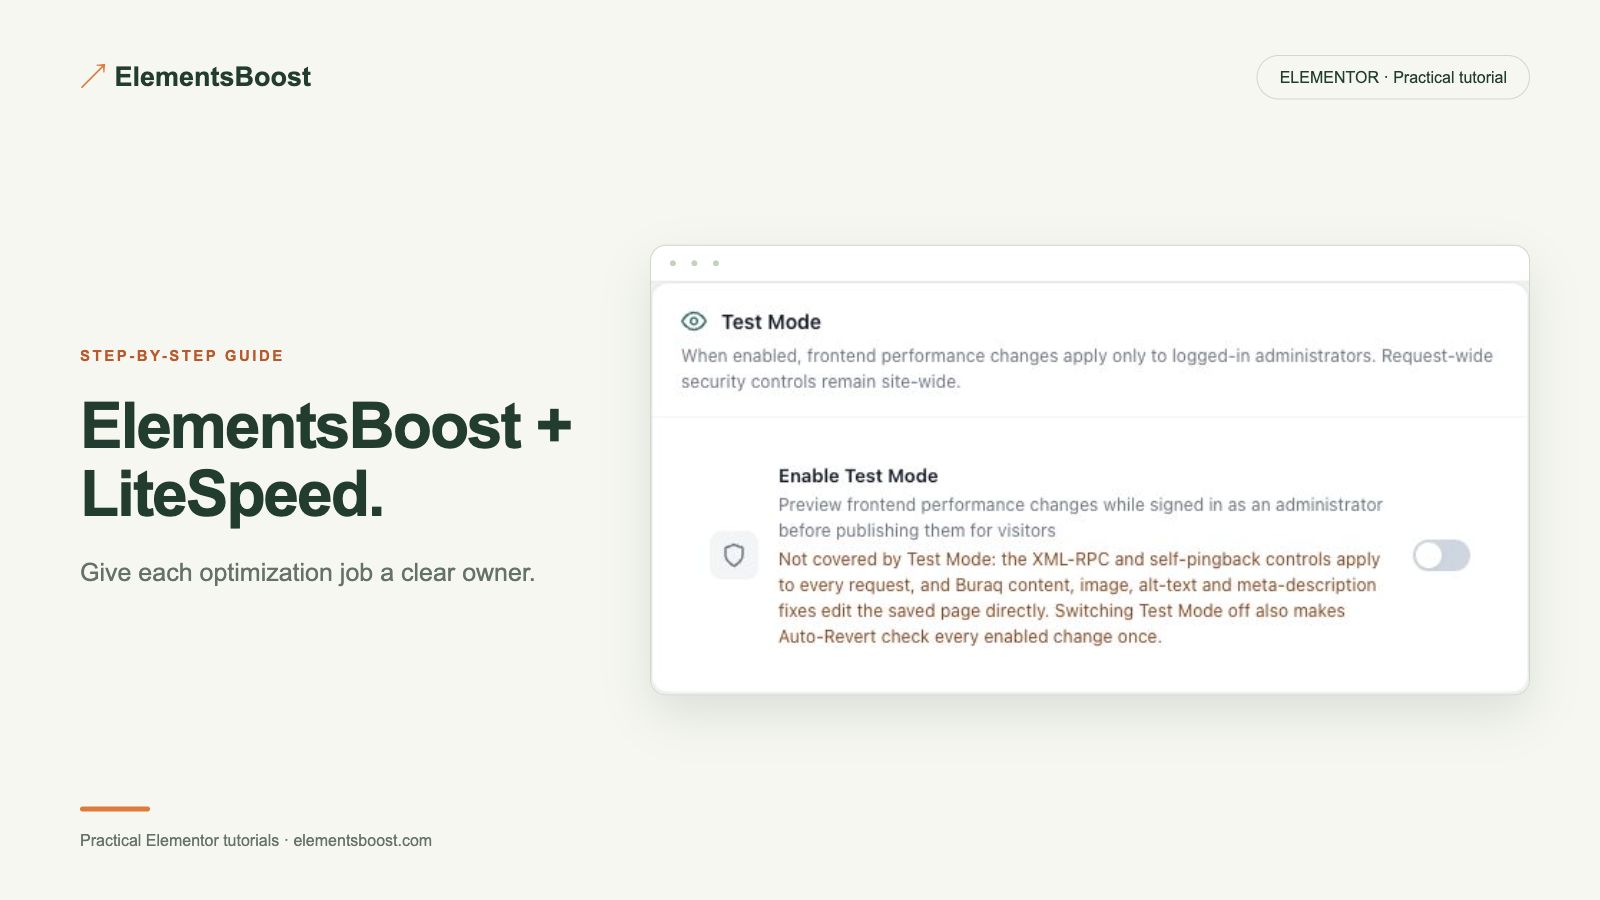
How to Use ElementsBoost With LiteSpeed Cache
Both · Practical Elementor tutorial
ElementsBoost and LiteSpeed Cache can perform different jobs in the same site. The useful setup assigns each overlapping optimization to one owner, then verifies the visitor output. The presence of both plugins does not prove every option should be enabled.
What you will achieve
Assign each optimization job to one tool and verify the combined setup.
Free: Free diagnostics, eligible global cleanup and practical fixes.
Pro: Optional per-page cleanup or local images, depending on the actual example.
1. Record the current environment
Note WordPress, Elementor and both plugin versions, plus the hosting/cache environment. Save the current configurations before changes. LiteSpeed page-cache availability depends on the environment; separate that from its other optimization controls when documenting the setup.
2. Assign each job to one tool
Create a short ownership list for page cache, image delivery, lazy loading, CSS delivery, JavaScript timing and fonts. For example, retain the existing page-cache owner and use ElementsBoost Free for diagnosis and eligible asset cleanup. This is a starting pattern, not a universal preset.
3. Test one Free improvement
Choose a confirmed issue from the Free scan and apply one eligible control. Leave unrelated cache settings alone. If both tools handle the same job, disable only the duplicate behavior in the chosen test configuration, preserving a record of the original value.
4. Add Pro only for a specific need
A supported per-page cleanup rule or local image workflow can extend the setup. If using Pro image delivery, make its relationship to LiteSpeed image rewriting explicit. If using Pro CSS or JavaScript controls, keep one owner for those transformations. Do not enable two optimizers as a substitute for diagnosis.

5. Purge and inspect visitor output
Clear the relevant cache after the controlled change and inspect a fresh public page. Check requests, images, menus and forms. Compare matched performance runs and distinguish cold-cache from warm-cache conditions. Keep screenshots of the real settings used rather than presenting an untested universal recipe.
If the result is different
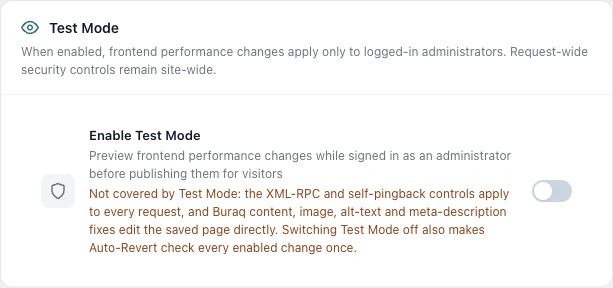
If the page changes only for logged-in users, compare cached visitor output and private Test Mode scope. If images or scripts break, restore the latest overlapping setting and inspect the actual resource. Validate the combination on your own staging environment before applying it to production.
For supported frontend changes, follow the testing and recovery guide. Persistent content and image changes need their own backups; private Test Mode output cannot be measured by a public scanner.
Reference: LiteSpeed page optimization documentation.
Assign one owner to each job
| Job | Choose an owner | What to verify |
|---|---|---|
| Full-page cache | Your cache plugin | Cache clears and rebuilds after a change. |
| CSS delivery | One CSS optimizer | Mobile and desktop render correctly. |
| Script timing | One delay/defer workflow | First menu click and form submission work. |
| Image loading and formats | One delivery workflow per job | Hero stays eager; correct image is served. |
Read the cache plugin’s official guidance before choosing overlapping settings.
Choose the next step that fits your page
Start with Free diagnosis alongside your existing cache, then add a specific Pro workflow when needed.
When Pro is the useful next step
Keep LiteSpeed responsible for the jobs it already handles. Add Pro for a specific local-image or per-page workflow, with one owner for each overlapping setting.
See Pro plans and included features →
Choose the license for the number of sites you manage. Check the feature comparison and license terms before buying.