How to Use ElementsBoost With WP Rocket
Both · Practical Elementor tutorial
WP Rocket is a separate paid plugin. When combining it with ElementsBoost, begin with a licensed test installation and assign overlapping jobs deliberately. Use this configuration checklist to plan and test your own combination. It is not a benchmark or a certification of compatibility for every version.
What you will achieve
Combine the tools without giving two plugins the same optimization job.
Free: Free findings and eligible controls. WP Rocket itself is a separate paid prerequisite.
Pro: Optional Lean Mode or local image workflow with overlapping settings assigned to one owner.
1. Prepare a licensed test site
Record the installed versions and save the current WP Rocket and ElementsBoost settings. Use a representative staging page with a menu, form, image and any important slider. Do not assume an interface or default from a different version matches the installation being tested.
2. Map optimization ownership
Write down which plugin owns page caching, CSS delivery, JavaScript timing, image lazy loading and font delivery. Keep one owner for each overlapping job. ElementsBoost provides diagnosis and eligible cleanup; it is not a replacement full-page cache.
3. Test a Free fix first
Use a Free finding to select one supported improvement, such as an eligible dimension correction or asset review. Confirm the actual output while retaining the existing cache setup. Record the issue and the rendered correction so you can confirm what the change did.
4. Add a justified Pro extension
If the page needs supported per-page asset rules or local image processing, test that Pro workflow separately. Check whether its delivery/timing settings overlap with WP Rocket and assign one owner. Save the exact tested values and restore path; avoid recommending a universal toggle list without evidence.

5. Verify after clearing the relevant cache
Inspect the public page’s requests and functionality after the controlled release. Test the first menu interaction, form validation, responsive images and any slider. Compare matched measurements and record limitations. Keep the configuration only after these functional checks pass on your installation.
If the result is different
If a feature fails, revert the last overlapping change and test again. Use a licensed WP Rocket installation for this workflow. Recheck its current Elementor guidance when a delayed interaction fails.
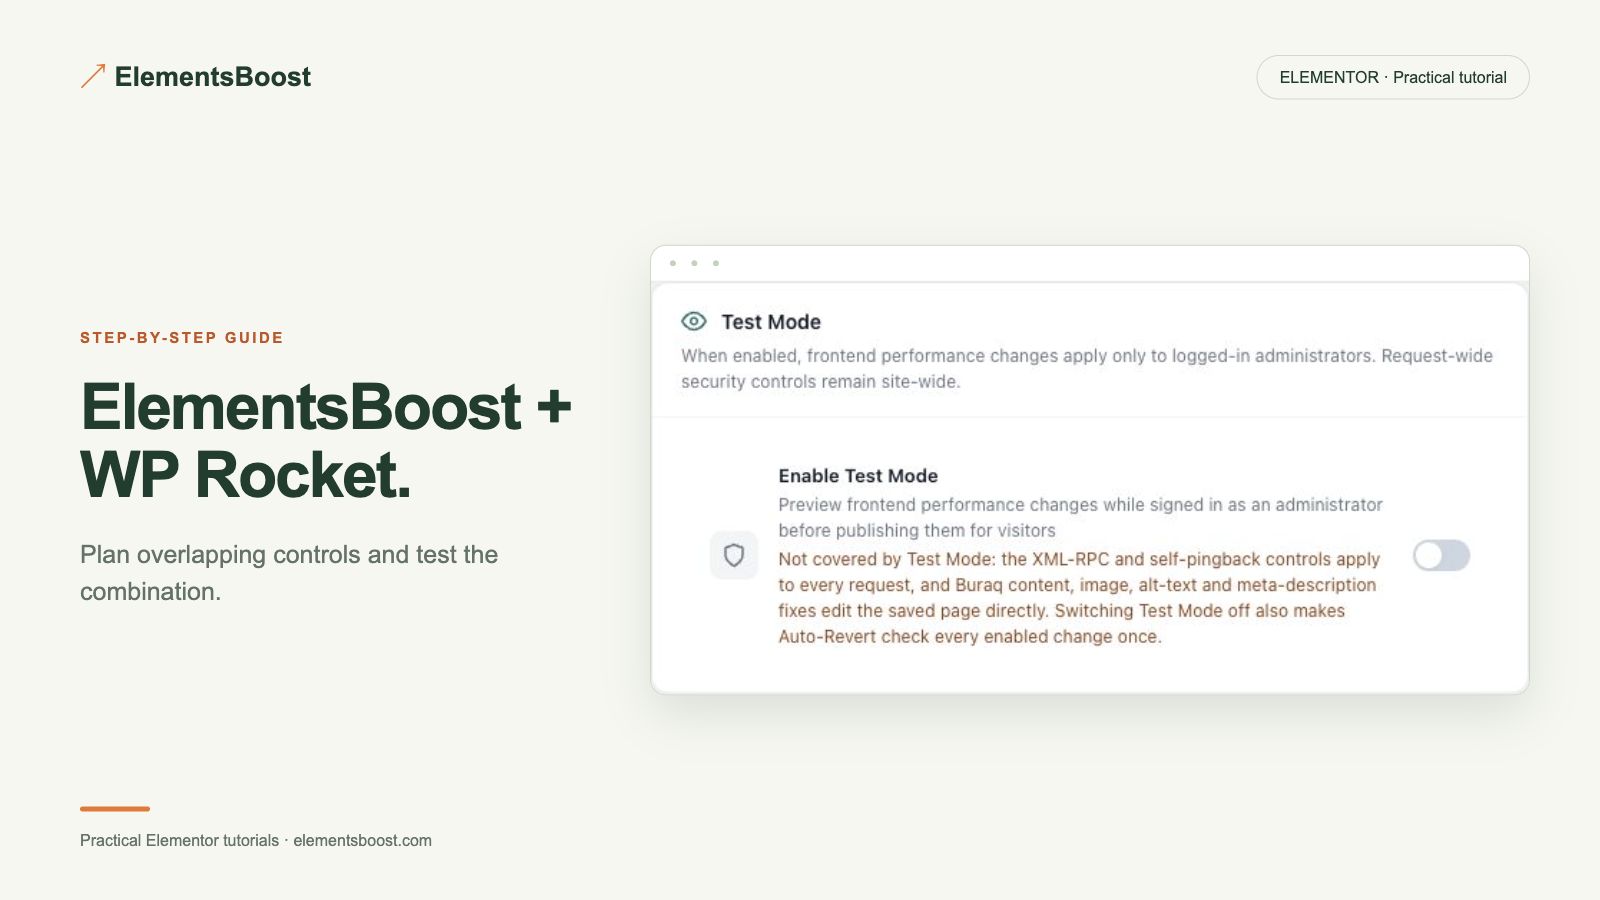
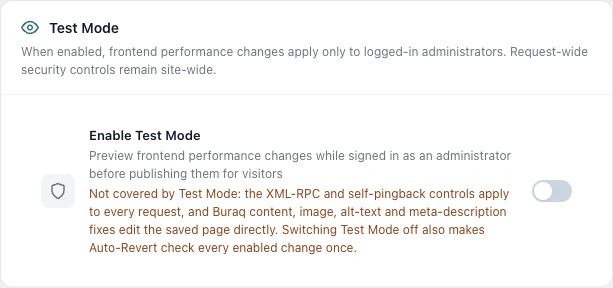
For supported frontend changes, follow the testing and recovery guide. Persistent content and image changes need their own backups; private Test Mode output cannot be measured by a public scanner.
Assign one owner to each job
| Job | Choose an owner | What to verify |
|---|---|---|
| Full-page cache | Your cache plugin | Cache clears and rebuilds after a change. |
| CSS delivery | One CSS optimizer | Mobile and desktop render correctly. |
| Script timing | One delay/defer workflow | First menu click and form submission work. |
| Image loading and formats | One delivery workflow per job | Hero stays eager; correct image is served. |
Read the cache plugin’s official guidance before choosing overlapping settings.
Choose the next step that fits your page
Use ElementsBoost Free for diagnosis and eligible fixes; add Pro for supported local images or per-page cleanup.
When Pro is the useful next step
Keep WP Rocket responsible for the jobs it already handles. Add Pro where you need supported local-image processing or per-page asset control.
See Pro plans and included features →
Choose the license for the number of sites you manage. Check the feature comparison and license terms before buying.